Setup and Quickstart
This article will guide you through the setup of a Python-based data science environment in a virtual machine (VM). We'll install Jupyter, a few data and numerical computing libraries and TensorFlow. All with a single command.
Prerequisites
You need a computer with a reasonably fast CPU and some RAM. Preferably above 4GB. The more the better. But any computer you can use for typical development tasks should be enough.
Installation
Installing data libraries can be quite a hassle so we've created a virtual machine that installs all of the necessary libraries inside a virtual Ubuntu installation. This way you can use an excellent environment regardless of the operating system you run on your physical machine.
First you need to install the following software:
If you already have them installed make sure you have the most recent versions.
Then install the hostmanager plugin for Vagrant by running the following on the command line:
vagrant plugin install vagrant-hostmanager
Now you're ready to run the VM.
Robotic Car ebook
Our step-by-step guide to building a self-driving model car that can navigate your home. Learn all the algorithms and build a real robotic car using a Raspberry Pi.
Sign up now to get exclusive early access and a 50% discount.
Download the databriefing VM
Create a directory and navigate to it in a commandline.
Clone the git repository to get all files that will create the virtual machine in the next step and navigate into that repository:
git clone https://github.com/databriefing/databriefing-vm.git
cd databriefing-vm
Set up and run the VM for the first time
The following command will download and set up Ubuntu inside your virtual machine so it may take a few minutes.
vagrant up
When prompted for your password enter the password of your computer's administrator, superuser or your user account. Don't worry if "databriefing: Warning: Remote connection disconnect. Retrying..." appears a few times. That's normal.
The last line should look like this:
databriefing : ok=5 changed=3 unreachable=0 failed=0
The important part is failed=0 which means no errors have occurred.
Congratulations! You've just set up a complete machine learning environment we'll use in all our tutorials.
Using Vagrant
If you're unfamiliar with Vagrant there really are only three commands to remember. All are run from the directory of the Vagrant VM. In our case that's the base directory of the repository you've cloned (the databriefing-vm directory)
- To start the VM run
vagrant up - to connect to the VM
vagrant ssh - to shut down the VM: If you are inside the VM (you've previously run
vagrant ssh) first exit the VM by runningexitand then runvagrant halt
That's all.
Testing the setup
Now we'll connect to the VM and run Jupyter to get familiar with the environment we'll use in all tutorials and look at a first example of a simple prediction algorithm.
vagrant ssh
You should now be in the new VM and your commandline prompt should look something like this:
vagrant@databriefing:~/shared$
Then run ./run_jupyter.sh and open databriefing.vm:8888 in your browser.
You should see this:
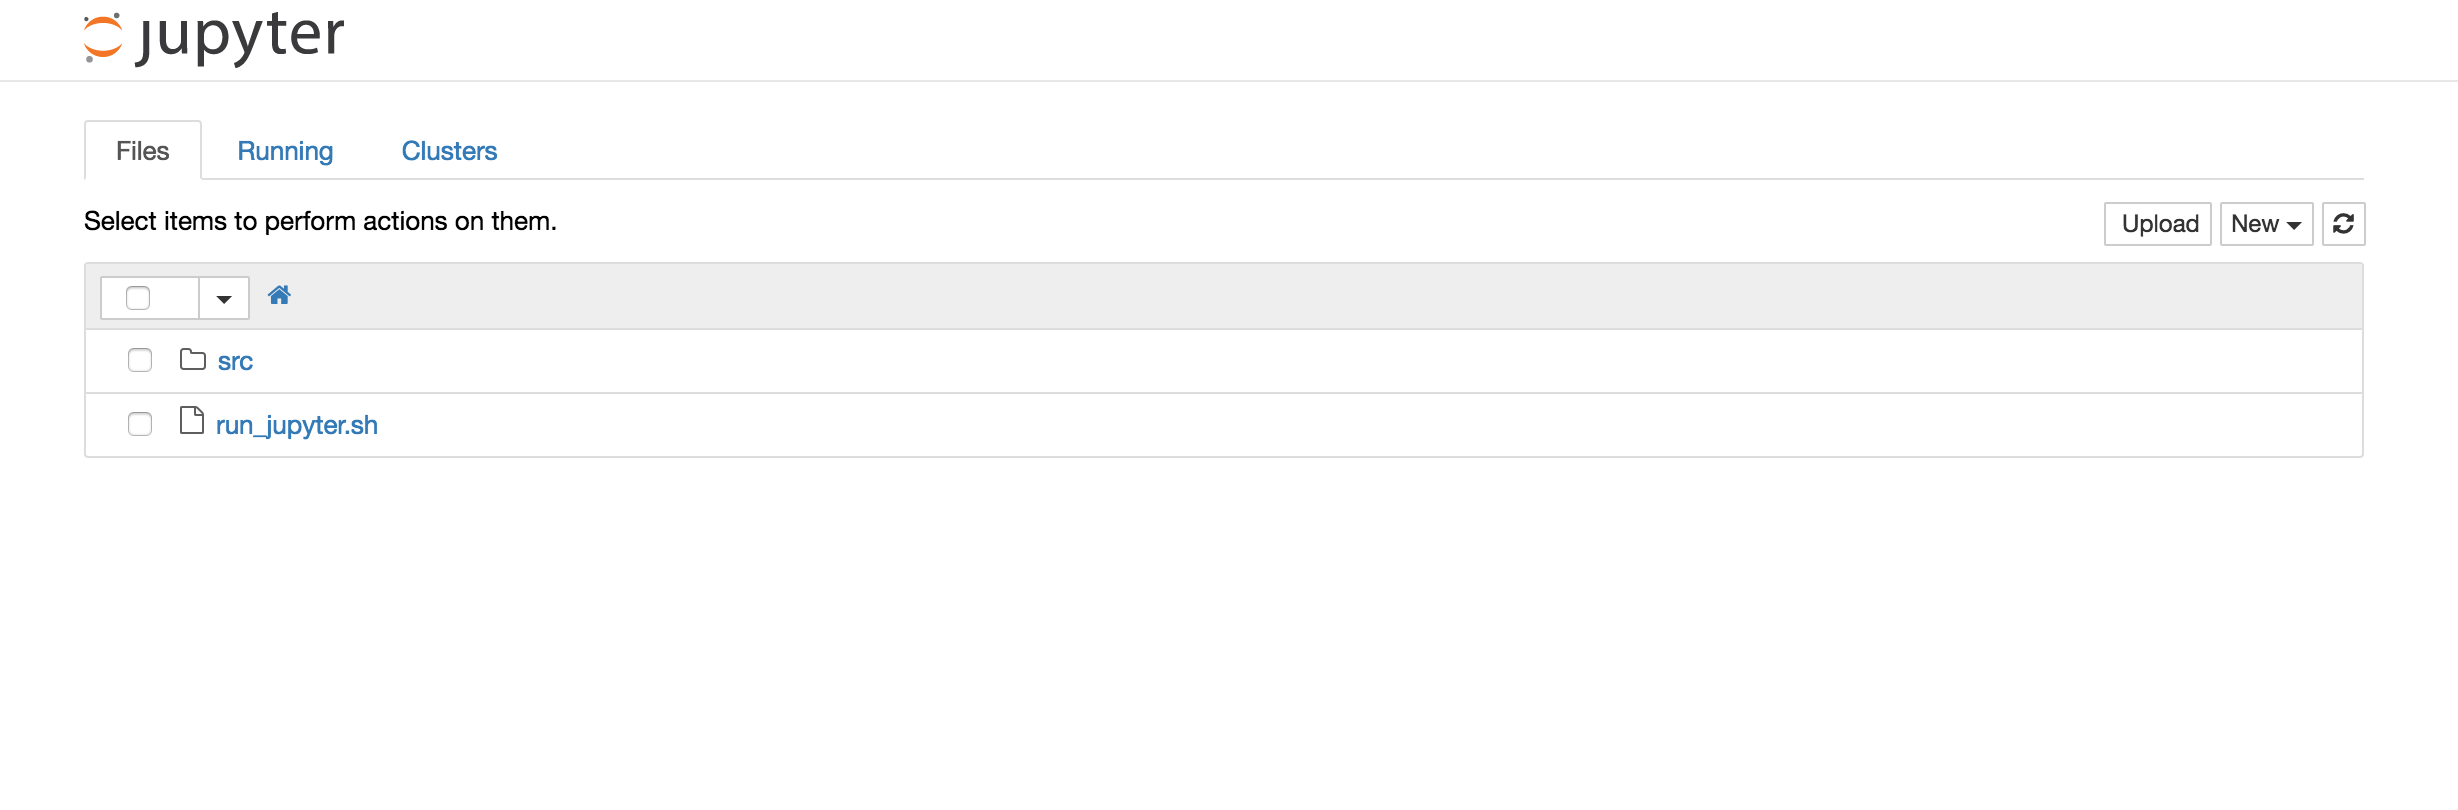
Click on "src" and then on "Simple_example.ipynb". The notebook will open in a new window. Feel free to look at the code and comments and play around with it. If you just want to build a very simple model, run predictions and plot the output, select "Cell" from the menu and then "Run All". Jupyter will run the code in this notebook and display a scatter plot at the end of the page.
You've now successfully set up the environment and are ready for the data tutorials.
Learn more about Jupyter Notebooks
If you've never used a Jupyter notebook before you may want to learn some basics. Jupyter Notebooks are a handy way to combine code with output and documentation. If you've heard of IPython – it's more or less the same. Jupyter used to be called IPython and the i stands for "interactive". So the notebook is just an interactive way to write code where you can run segments of your program again and again while keeping all the variables you've set so far.
Jupyter Notebooks Quickstart
We've also added a Jupyter notebook to the VM that should get you started with notebooks in a few minutes. If you still have your VM and jupyter running open databriefing.vm:8888 in your browser again, select "src" and then "Intro_to_Jupyter_notebooks.ipynb". When you've worked through that notebook you know the basics of Jupyter.
For a more in-depth tutorial take a look at Plotly's IPython Notebook Tutorial
What's next?
You've set up a powerful environment, tried it out and you already know about one of the most common tools in Python-based data science. Often these first steps are such an undefined and intimidating task that people don't start. But they're now behind you. You're ready to use all of this with some real data.

Email me the next article!
Be the first to get an email when we publish another high-quality article.